
Lesson 1
This lesson consisted of getting to know the basics of Logic Pro X. We created a project utilizing loops with altered regions. The lesson also helped us identify different areas of the digital audio workstation and gave a brief overview of their applications. It introduced shortcuts to help navigate the work environment and tips to better improve workflow. It also briefly discussed and introduced the concept of audio mixing.

This Is Logic Pro X. This is the DAW that we familiarized ourselves with in this lesson. The blue outline on the loops browser indicates which segment is activated and will respond to certain commands.

This is the control bar. From here you're able to open or close the inspector, toolbar, and enable the DAW's help feature which pops up bubbles when you hover the pointer over anything. This can come in handy when you don't know the purpose of something within the daw, or have forgotten like I did.
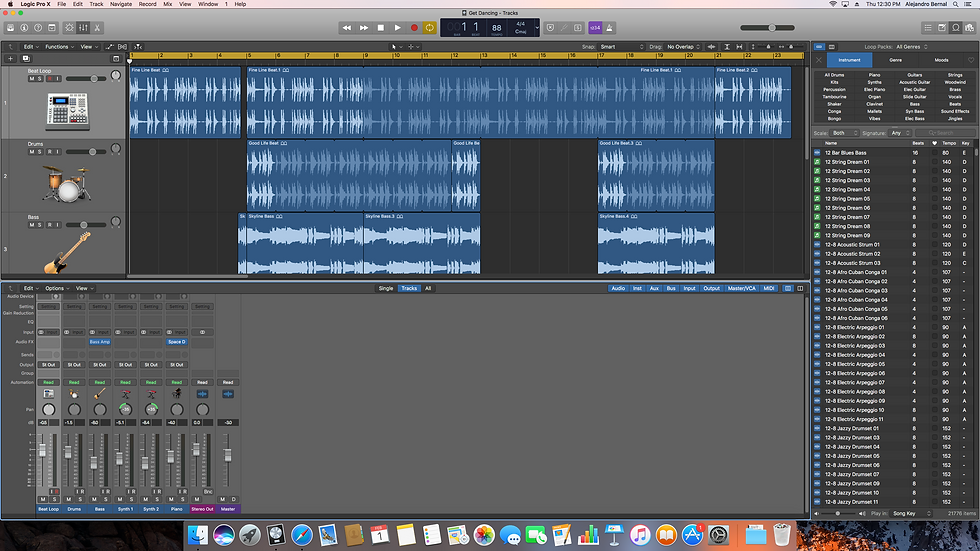
This is the session view with the mixer window open. From here we were able to mix the amplitude of each of the tracks to get a desirable sound.
This Is Logic Pro X. This is the DAW that we familiarized ourselves with in this lesson. The blue outline on the loops browser indicates which segment is activated and will respond to certain commands.
Lesson 2
This lesson consisted of setting up digital audio recording in Logic with a proper sample rate, latency, and an audio interface to record audio. The lesson covered how to set up our tracks and even the program itself for optimized recording and playback. Some simple plugins for instruments and vocal tracks were introduced. Even some useful tools like a tuner module and a system load mode so the cpu load could be kept track of. While recording, the lesson introduced the ability to record multiple takes with Logic's non destructive workflow and even punching in while recording. If needed even how to delete tracks we don't need was covered.

Initial view of the project.

Setting up the audio setting for recording with minimum latency.

Waveform view of tracks showing additional editing done to tracks known as crossfades or simply fades.
Initial view of the project.
Lesson 3
In this lesson, extremely useful editing techniques and concepts were introduced to enhance our ability to manipulate sound in Logic. We discovered the Flex tool which is useful for keeping audio in time or just even manipulating it to be out of this world. The fade tool really allowed for smoother transitions between audio regions or even just getting rid of an unwanted peaks at the start or end of an audio region. The solo tool allowed us to listen to a single audio region, or multiple if selected, instead of having to listen to everything in the selected track using track solo. Option dragging a selection using the marque tool is one of the most powerful tools I've discovered in Logic. The color palette allowed us to be more organized by color coding audio regions. We used this when comping a guitar part for the middle of the song using 3 different takes. Importing audio files such as a noise sample and fading it to sweep and swell is powerful to create a much more lively composition. Being able to join audio regions to a single region after all necessary editing is really useful for organization.


SCRUBBING BOX CHECKED

Lesson 5

A new project was created with one software instrument track.

In the library [y], the Steinway Grand Piano patch was selected.

A new project was created with one software instrument track.
Lesson 6
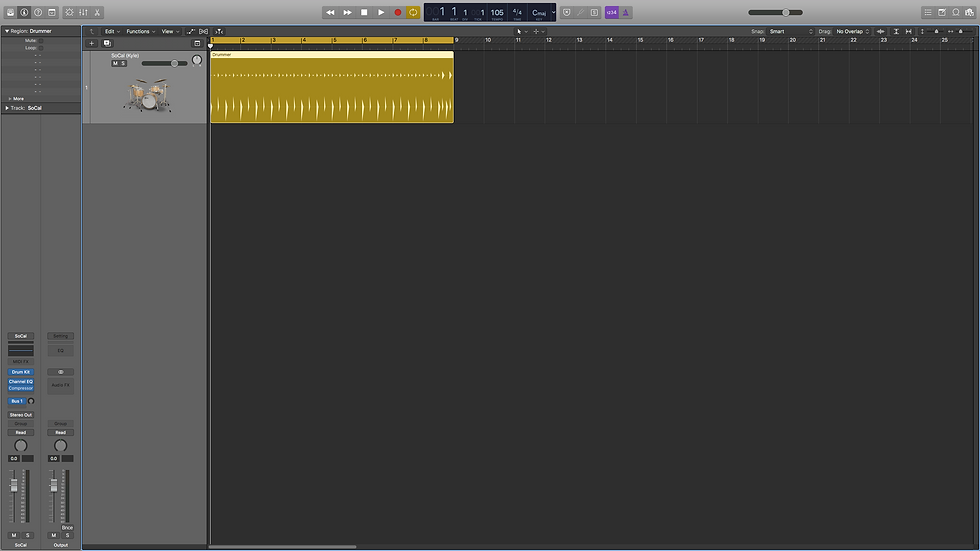
Opening up the lesson file for lesson 6, we are greeted with a drum section track.

Using [command-option-s] a new instrument track was created and the stinger bass in the browser [y] can be selected to accompany the drums.

Opening up the lesson file for lesson 6, we are greeted with a drum section track.